Showing posts with label travel SIPs. Show all posts

A (Very) Early Spring Day in Chicago

Saturday

On Jan 9 I stepped out and sniffed the 50-degree+ Chicago air. Like an animal waking from its winter slumber, I smelled the warm earth and immediately had the urge to plant something. So I located a few empty SIPs and washed them in hot vinegar water.

Happily, I have a friend on the roof to hoist up my planting boxes and watering can (no running water up there in winter, despite these occasional oddly warm temps).

The sun was shining as I opened the potting mix bin to reveal a couple of bags of peat, ready to be mixed with perlite this spring to create fresh potting mix.

I filled my small SIPs...and added a little balanced fertilizer.

Our growing roof is all tucked in for winter. Some of those yellow SIPs have even been washed and dried, stored now in the unheated greenhouse, which is where I'm heading.

I always have winter-spring seeds on hand, including some I ordered from Franchi late this fall.

Root Simple recently wrote about one of Franchi's gorgeous salad mixes, shown here growing in their LA garden. Eye-popping color.

Hey, I'm planting! This makes me happy.
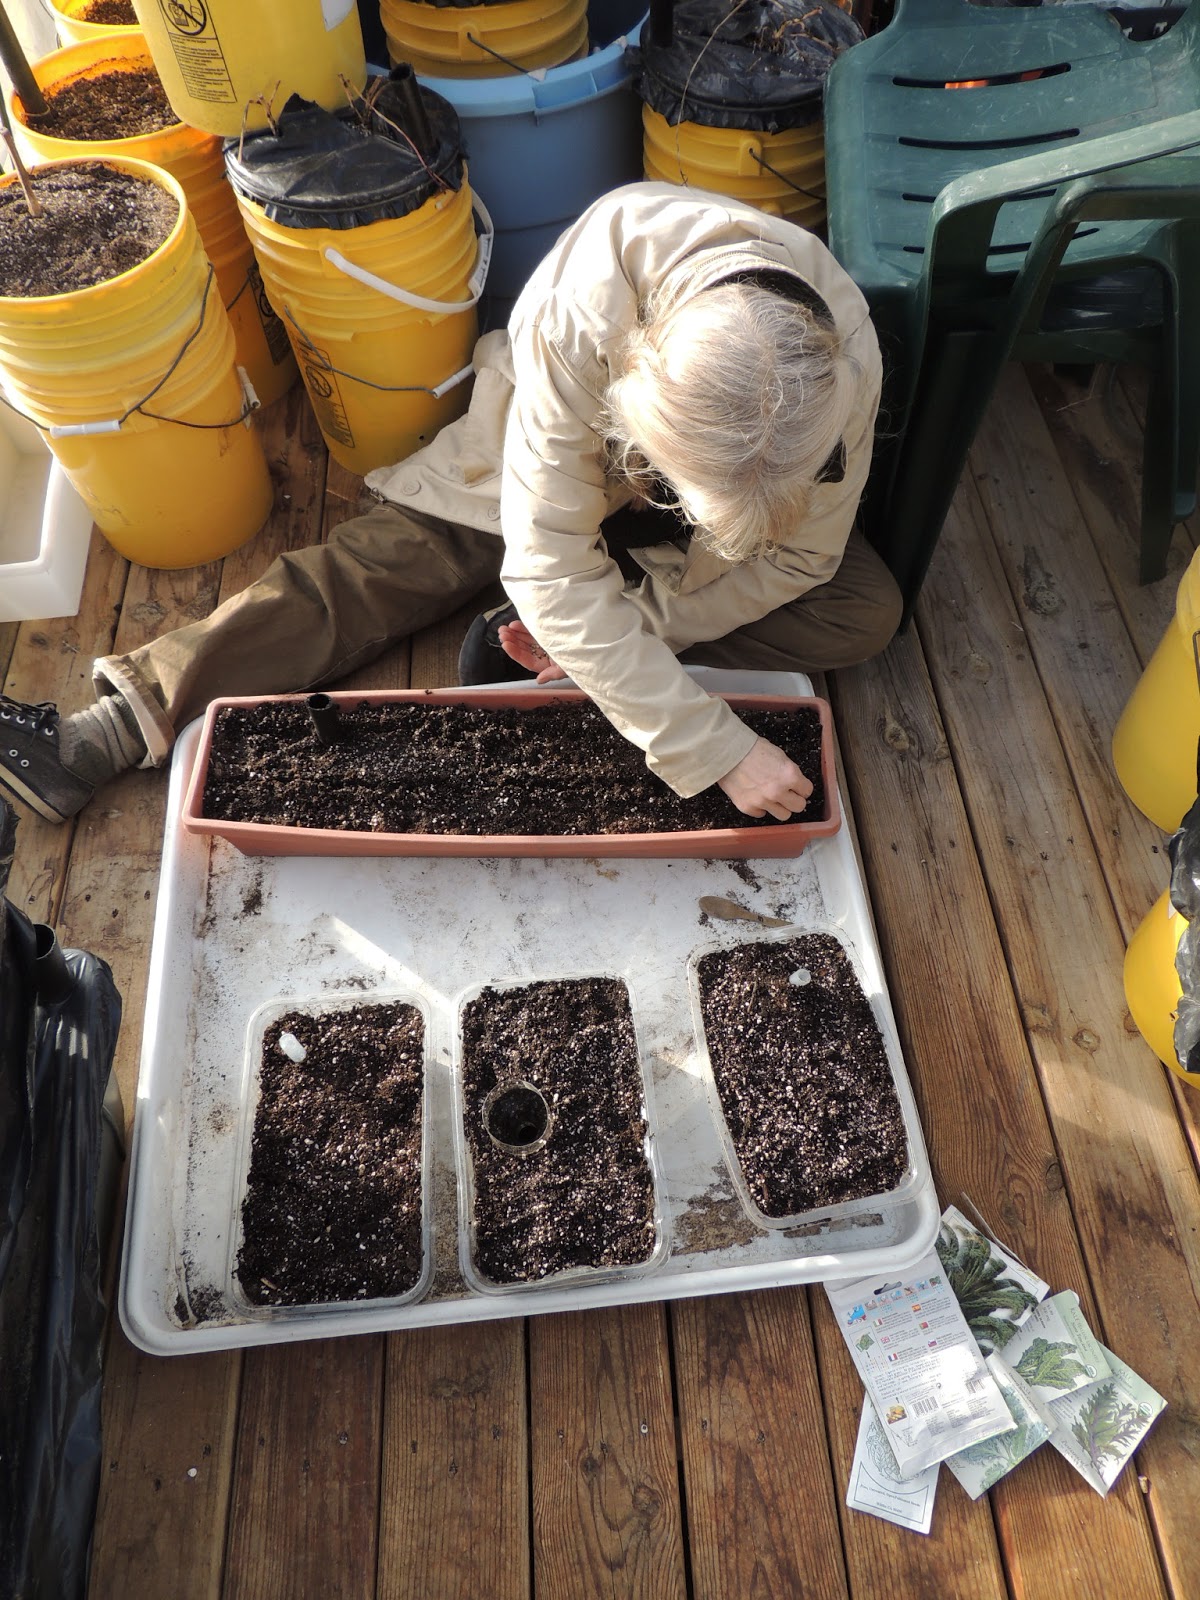
We watered in the seeds lightly and covered the grouping with a plastic bag. As the greenhouse warms on sunny days, so too will the potting mix. During the single-digit cold coming this week, the mix will freeze, mimicking the in-ground environment.

When spring temperatures and increasing sun crack those seeds, they'll show some green, like these snap peas I planted in SIPs in the greenhouse in just the same way last winter. Here are their sturdy sprouts on March 11, 2012, when they were easily lifted and transplanted to one of our earthboxes. Check out the root development.
Why not plant peas or greens directly into a SIP? The greenhouse-trapped sun and heat prompts  germination weeks earlier than otherwise on our roof. A head start on good eating.

Spriky and the 2-Liter SIP Comic


We love that people are being exposed to the idea of recycling water bottles and gardening in them. Perfect project for kids, families, adults and small space gardening!

Spritzer, a company in Malaysia did a really cute comic based on my original 2-liter SIP infographic that I designed and posted on GRG last March. I love Woan Ling's illustrations... as an Information Architect, Art Director and gardener I thinks she did a beautiful job on translating the instructions and Spriky the little water drop does a great job of teaching us how to make a SIP. 

Click here to see the original post and more environmentally friendly comics with Spriky.

Stay tuned... we'll be doing more SIP infographics on GRG and at The Singing Seed on Facebook!

Please share!


Let’s Make 2-Liter SIPs!

Friday

Photo: Rachel Glass

My mom and I have really been expanding our gardening knowledge lately. Though there is a lot more to learn, we have been sharing that gardening knowledge with kids and families in our community.

When we were asked to teach children at a special event sponsored by the AUA (Advocates for Urban Agriculture) and Hull House, we decided to teach a workshop on making SIPs. A SIP is a Sub Irrigated Planter. Sub meaning bottom, irrigated meaning watered, and planter meaning… well you know. So a SIP is a planter watered from the bottom.

“First the water at the bottom of the SIP is wicked or sucked up by the fabric. Then, the water comes in contact with the roots and the plant drinks the water,” I explained.


Photo: Rachel Glass

After teaching the Becker girls (above) how to make SIPs I took a quick break. When I came back to the room from my break, I found out one of the girls had taught an adult how to make a SIP all by herself!


 My mom and I invented the seed match game so people could learn what seeds go to which plants.


The Becker girls extraordinarily (unlike some other kids I’ve taught) seemed to want to learn more about gardening. I knew that because when I introduced them to the seed game they enthusiastically started to match the seeds with the pictures of plants.

After the kids constructed their SIPs, we gave them chocolate mint seedlings to plant in their new homemade planters. 


Not long after teaching kids how to make 2-liter SIPs, we taught more children to make SIPs. In this case we taught our Girl Scout troop.


 Please download and share!
Little Green Girl

SIP Instructions updated: 3.17.2012

Seed Starting: Agretti and Onion Update

Thursday


Here's a close up of Agretti seedlings just a few days old. They look like mini serpents! H2 grew her's in a cute mini travel SIP.


Planted in the soil they start to take on a new form.


The onions are coming along; they pop out of the soil folded in half then straighten up. 


Next seed starting project is winter sowing!

Portable Microgardens Thriving on Chicago Windowsill

Monday

Last night it snowed and the cool-weather greens--mustard, bok choy, tatsoi, miner's lettuce, wrinkled crinkled crumpled cress, and lettuces--couldn't be happier.

These mini-SIPs/portable microgardens are sitting on our south-facing windowsill getting all the light, wind, and and other weather Chicago can throw at 'em. And they are thriving.

It's incredibly easy to assemble and plant one of these little grow boxes. Step-by-step right here.

If you have another minute, head over to flickr and have a look at the Greenscaper Bob's Brooklyn Urban Garden site survey.  So many south-facing spaces, so little food...

Planted Greens on this Windy April 3

Sunday

Got three SIPs planted up on the roof this morning, this one with some beautiful French sorrel from Bountiful Gardens.

Art installed his nifty wiggly-plastic (technical term) windscreen, providing much-needed protection this gusty day as temps shot up to nearly 70 here with cool air not far away.

One of Art's real skills is seeing an item sold for one purpose and using it for another. This washing machine pan keeps large amount of planting-generated potting mix and other detritus off the roof (and thus out of our gutters). 

I use another pan over near where I shovel the mix into the SIPs. Good find.

How to Plant A Mini SIP (aka Portable Micro Garden)

Learn how to make an excellent Portable Microgarden from the nice folks at Inside Urban Green. They advised us on retrofitting our plastic spinach boxes into traveling mini SIPs like this one so we could take them on our road adventure and eat fresh greens.

Check out the travel SIPs post to learn how to make one from stuff you already have or can garbage pick. The bottle provides a reservoir for water and oxygen. You don't need that black HDPE pipe--we had some left over and used it. You could use a second water bottle for the water fill tube.

These microgardens are perfect for those of us living in the northern hemisphere right now as spring tenuously approaches. Chicago weather can be fickle: 28 degrees F today and last week 65.

We planted some cool-loving lettuces and greens in our mini SIPs and set 'em on the outside windowsill facing south. If temps plummet, we just lift them inside and shut the window. Click to see these are bungee corded so they don't drop on unsuspecting perambulators below ("Knocked out by kale!").
 

Here's how to plant your mini SIP...
I'm putting in young plants Bruce started under lights, but these containers also work well for direct-seeding, especially if you keep them on a warming mat in the strengthening spring light. We'll discuss that in next post.

1--Fill with damp potting mix and add a handful of organic fertilizer.

2--Mix the fert in with your hands and top up the boxes with plain potting mix.

3--Plant, water the plants once top-down, and then water through the fill tube into the H2O-oxygen reservoir (aka, the buried water bottle). You don't need to water until it comes out the overflow tube--just enough so the box has some weight). Here we planted some miner's lettuce and Wrinkled Crinkled Crumpled cress.

Click to enlarge. These will look a lot better once they settle in and get some legs...and leaves! You will get an amazing amount of salad out of these just by clipping the small leaves that develop. Salads forevah.

Here are the tiny determinate tomatoes Debbie brought us in a yogurt cup during our seed swap Feb 12.

They loved growing up in this mini SIP on a heating mat, drawing the water they needed from the bottom. Gonna get these into some larger grow pots soon.

Growing Agretti

Wednesday


Got some agretti seeds from Bountiful Gardens. They look like little bits of cork and the seed pack advises you to plant in succession until June, when seed viability "becomes questionable."

Ominous. I know myself well enough to suspect I won't be succession planting coherently enough to use all the seeds by June, so I started them last weekend in one of the small SIPs made from an old spinach container, drink bottle, and some tubing. We wrote about how to make these before our camping adventure last fall.

The growing medium is damp peat and coir with a little perlite, to ensure wicking.

On go the agretti seeds,
followed by a gentle tucking in

Then I wrapped the SIP in plastic and set it on a warming mat in the southern light. In the foreground, another SIP with the two patio tomatoes Debbie brought us a few weeks back. Everyone's happy being sub-irrigated.

From my reading, agretti is a little bit salty, a little bit sour, and one of those greens you can use in myriad ways: raw, our traditional steam, olive oil, lemon juice, and dijon, or the saute preparation our friends at Root Simple use for borage, already growing in profusion in their yard (envious).

Seeds from Italy has more on agretti.

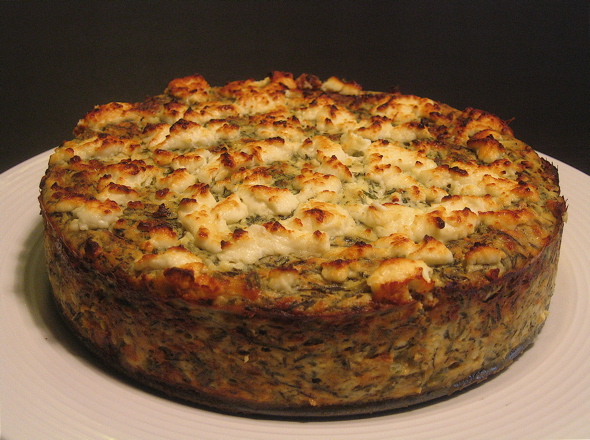
How about this agretti cheesecake? I'm already envisioning Bruce's flock providing the eggs for it.

We'll transplant some of the agretti into SIPs on the roof in a few weeks. Others will go into our small in-ground bed, with few left over to share.

Travel SIPs (aka Portable Microgarden): An Experiment

Tuesday

Can you find the fill tubes in my travel SIPs?

We're hitting the road and I want to see if we can get our daily greens from a couple of quickly made travel SIPs. Is it obsessive to want all the nutrients of New Zealand spinach, chard, collards, tatsoi, and cress while we wander the wilderness?

I don't think so.

For guidance, I asked Bob Hyland at Inside Urban Green, whose sub-irrigated window box + salad bar SIP concepts intrigue me for next spring. He coined the term "portable microgarden" and it's truly descriptive.

I already had these years-old Earthbound farm spinach boxes, and I found a sturdy brown plastic carrier that will allow me to lift them in and out of our camper easily (you don't need a carrier unless you want to move around a couple of these at once).

The guys at the tire shop provided the plastic drink bottles, which I made vent holes in, for water and air (mine might be a little large, but as with most SIPs it doesn't really matter). Then, two larger holes for the fill tube and the overflow.

The soldering iron I used made it easy to line up/melt the overflow hole on the container right in line with the exit tube. Below are my results. On the right I centered the bottle and it's a bit unstable (see the fill tube tipping to the right?). On my second attempt, at left, I nestled the bottle into the corner instead so it stays in position.

Once I packed these with damp potting mix, though, it didn't seem to matter.

Next I turned to the cool-weather greens I'd started a few weeks back in some of our bucket SIPs. Here are some nice-looking young collards, perfect for transplanting into the travel SIPs.
Happily, Bruce and Chef Art had popped up to the roof, where I was working, for a surprise visit. As we thought about the new travel SIP they suggested I dig down and lift a chunk of soil, root, and plant, transferring the whole handful to the travel SIP.

Good plan.

I top-watered these babies (for the trip I have a funnel that fits into the fill tube) and left them out in the nice overcast day to settle in. As we travel, they'll move with us, inside on road days and outdoors in the cool sun when we pause. And I'll clip clip clip for greens.


Quick-ref instructions, courtesy of Inside Urban Green:
1. Poke some small holes around the circumference of the bottle for air and water circulation (like the perforations in the corrugated drain pipe).
2. Add a piece of plastic tubing for a fill tube (or use something recyclable from the trash).
3. Make an overflow drain hole in the box and connect it to the bottle with a piece of (clear) plastic tubing.

The overflow drain hole is a primitive valve that determines the capacity of the reservoir depending on how high you install it in the reservoir.

Click here for a step-by-step on how to plant your personal microgarden.
 

Popular Posts